
If you’re visiting the Kuju Mountains, this is a route you shouldn’t skip.
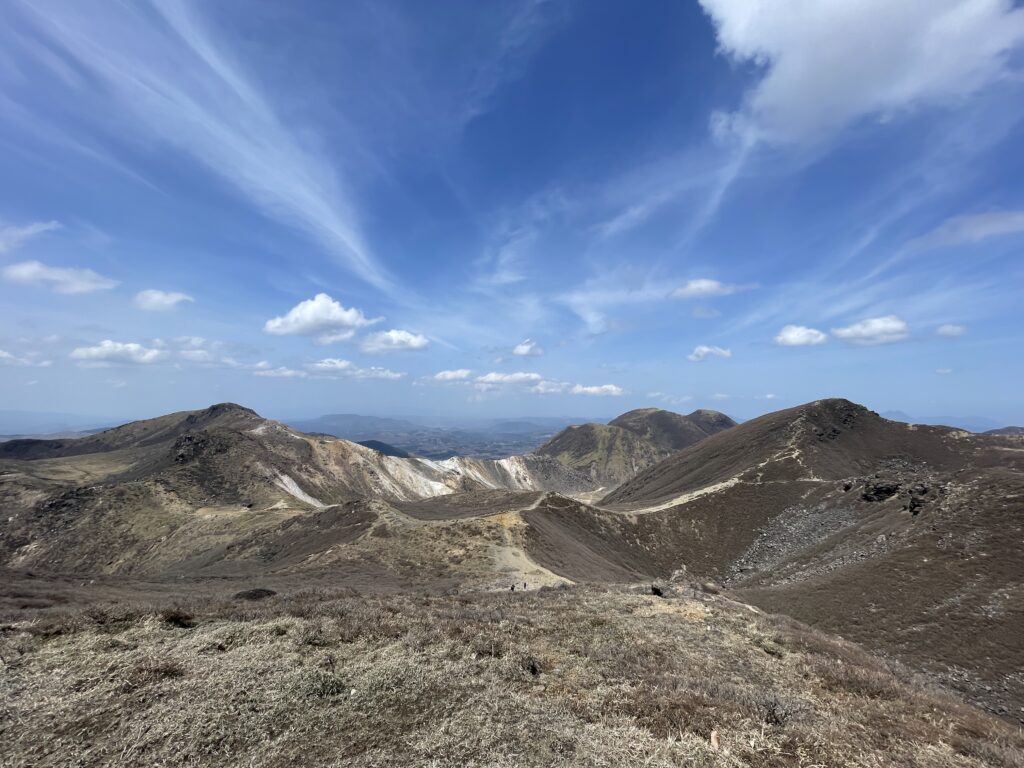
Even though the mountains are connected, the scenery from each summit feels completely different — volcanoes, crater lakes, and sweeping views of the outer rim all unfold along the way.
One of the best things about Kuju is how flexible the routes are. You can easily adjust the distance to match your fitness level, whether you’re hiking with family or planning a multi-day adventure in the mountains.
The route introduced here is just one idea. Pick the landscapes you want to see, choose the peaks you want to climb, and design your own perfect route through Kuju.
Conetnts.
1.Highlights
1.Visit the Most Popular Peaks in the Kuju Mountains
This route allows you to hike Mt. Kuju, the most popular mountain in the Kuju range, as well as Mt. Nakadake, the highest peak in Kyushu.
You’ll also pass several other well-known mountains, making this a route that truly covers the highlights of the Kuju Mountains.

2.Minimal Elevation Gain
The starting point is Makino-to Pass, which already sits at an elevation of 1,333 m. Thanks to this high starting altitude, much of the uphill climbing is skipped.
Although the route includes multiple summits, the peaks are connected by high ridgelines, allowing you to traverse between mountains with relatively little elevation change.
3.Well-Marked Trails
As one of Kyushu’s most popular mountain ranges, the Kuju Mountains are well signposted. While it can be difficult to identify each peak on your first visit, the clear trail signs make navigation easy and help prevent wrong turns.
2.Course Overview
Distance: approx. 11.9 km
Total Elevation Gain: 959 m
Standard hiking time:6 hrs 13 min
Difficulty:Intermediate
Start / Finish: Makino-to Pass Trailhead
Peaks: Mt. Kutsukake(1,503 m), Mt. Hoshio(1,762 m), Mt. Nakadake(1,791 m), Mt. Kuju Elevations(1,786 m)
Convenience Stores: None
Toilets: Makino-to Pass Trailhead, Kuju Shelter
3.Access
By Public Transportation
From Bungo-Nakamura Station on the JR Kyūdai Main Line, take a Bus to Makinoto Pass Bus Stop.
Travel time is approximately 1 hour and 4 minutes, with two buses per day.
Bus timetable and so on is here (HP)
By Car
From Kumamoto Airport: about 1.5 hours to Makinoto Pass
From Oita Airport: about 1.5 hours to Makinoto Pass
4.Bear safety measures
There are no bears living in Kyusyu, so bear safety measures are not necessary.
5.Trail Report
April 19 – Sunny

Perfect weather from the start.
On the way to Makino-to Pass, we were lucky enough to encounter a sea of clouds
A great way to begin the day — it felt like something good was about to happen.
Makino-to Pass Parking Area
We arrived at the Makino-to Pass parking lot, which can accommodate 161 vehicles.
Despite its size, many cars were already parked due to it being a weekend — no surprise, as this is the most popular trailhead in the Kuju Mountains.
Even if it’s full, there are alternative parking areas nearby, such as the trailhead for Mt. Ryoshidake.
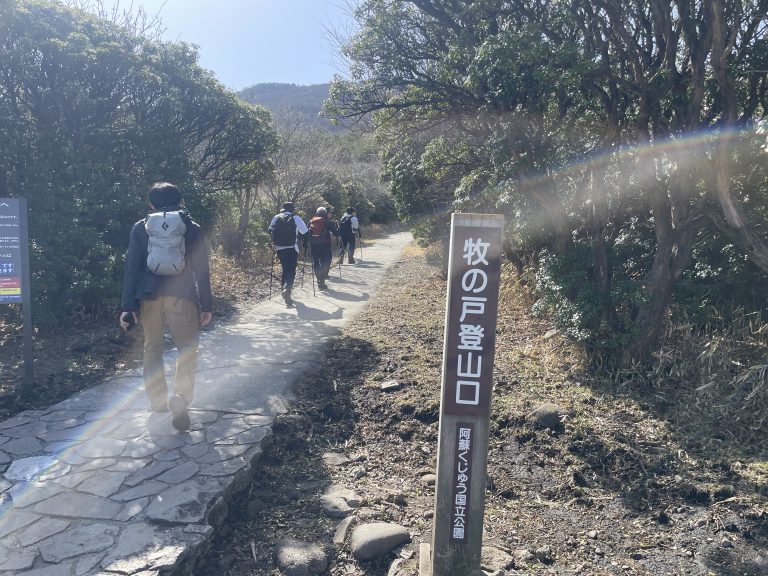
The trailhead has toilets and a small shop. I made a note that they sell ice cream — something to look forward to after the hike — and started from Makino-to Pass.
Toward Mt. Kutsukake
The hike begins on a paved path with steps, and you’ll find yourself out of breath almost immediately.
Thankfully, the paved section ends after about 15 minutes, and the slope becomes gentler. In less than 30 minutes, we reached Mt. Kutsukake, which we passed without stopping.
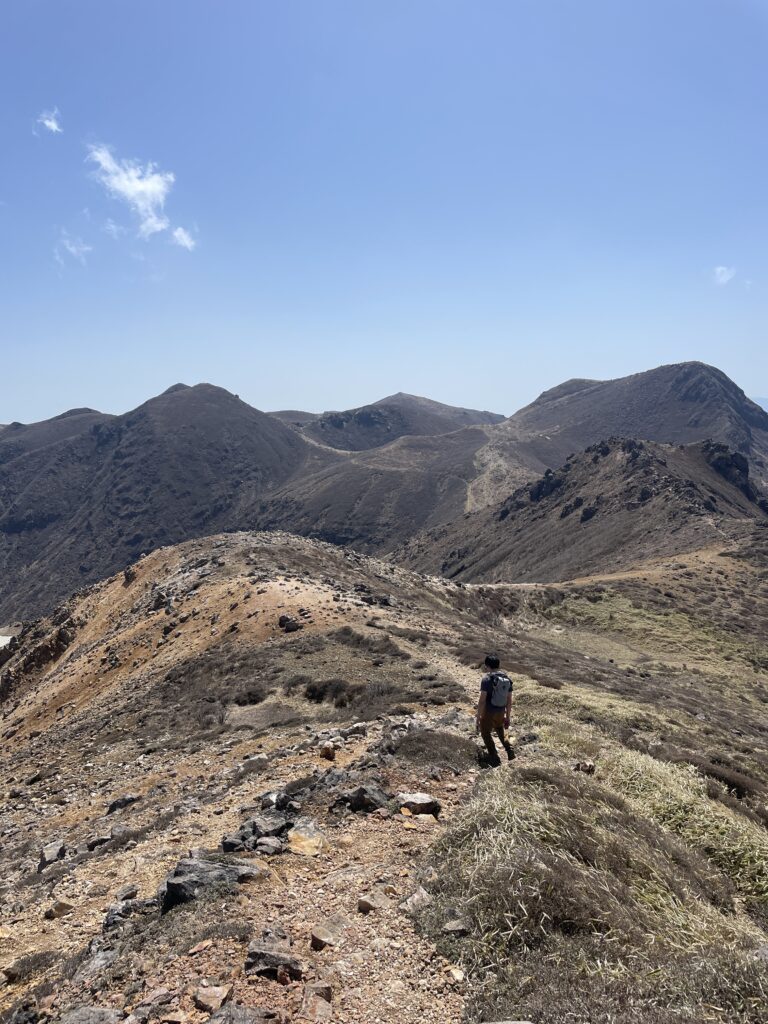
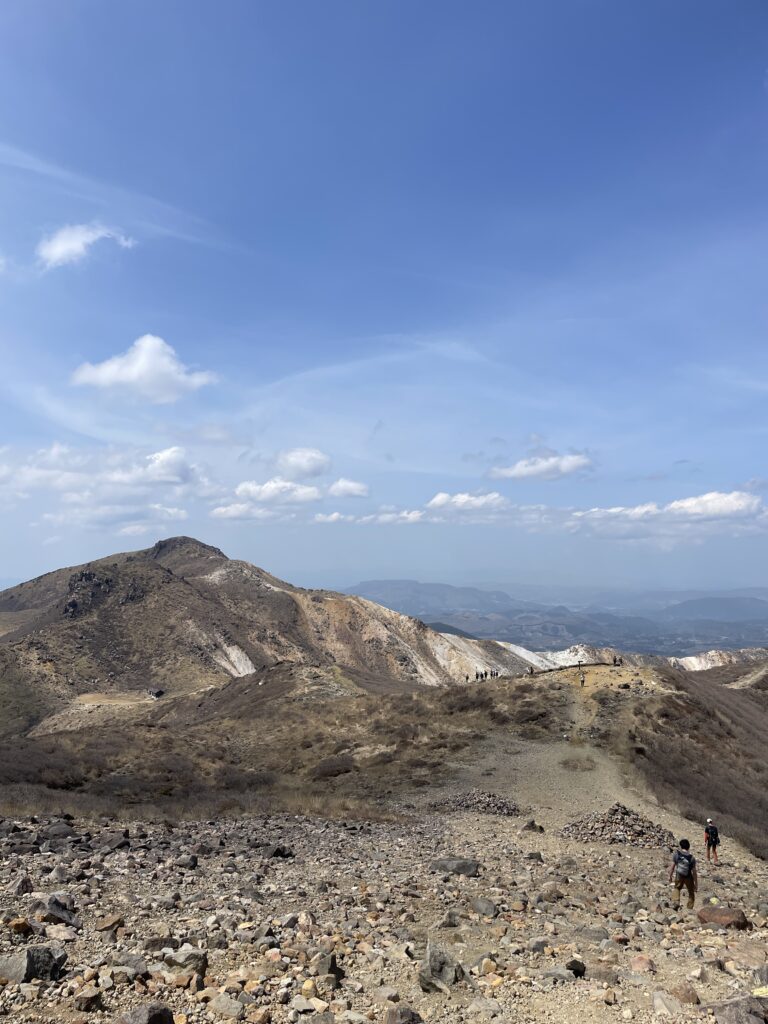
Walking across the open scree slopes already felt incredible.
Mt. Hoshio
This time, we decided to summit Mt. Hoshio, so at the junction of Nishi-Senrigahama and Mt. Hoshio, we turned left toward Mt. Hoshio.
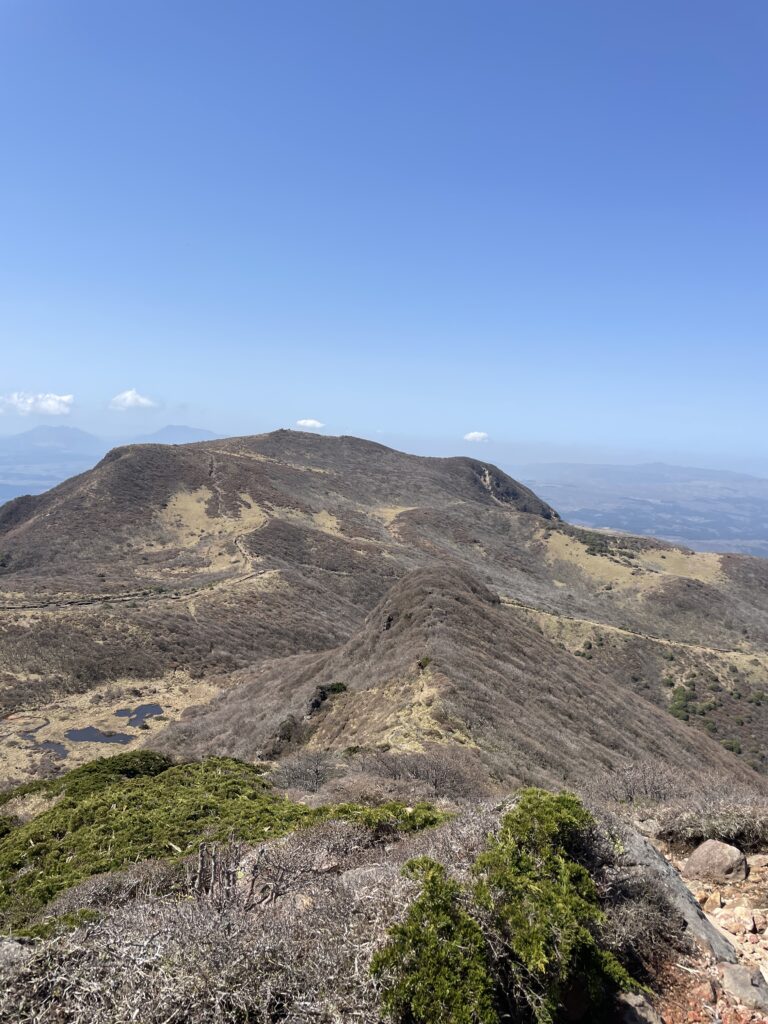
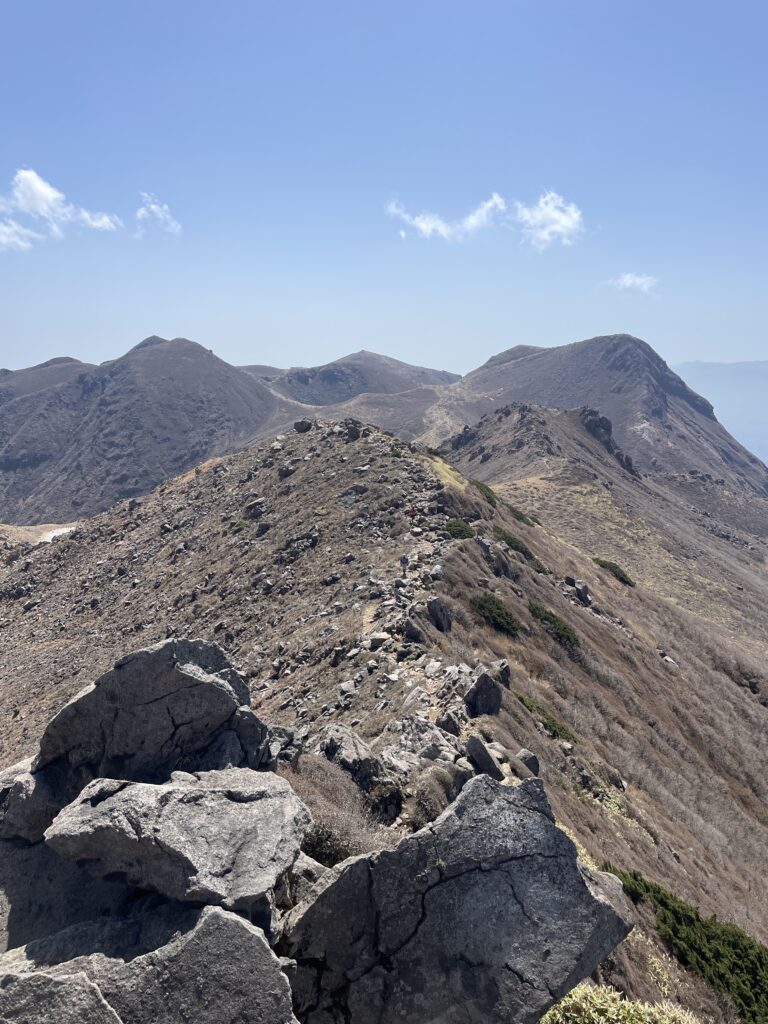
After a short climb, we reached the ridgeline, where the views opened up beautifully. Looking back, we could see Uma-no-Se, the narrow horse-back ridge.
From the summit, the view was a full 360 degrees.
I hadn’t expected much from Mt. Hoshio, so the scenery completely exceeded my expectations.
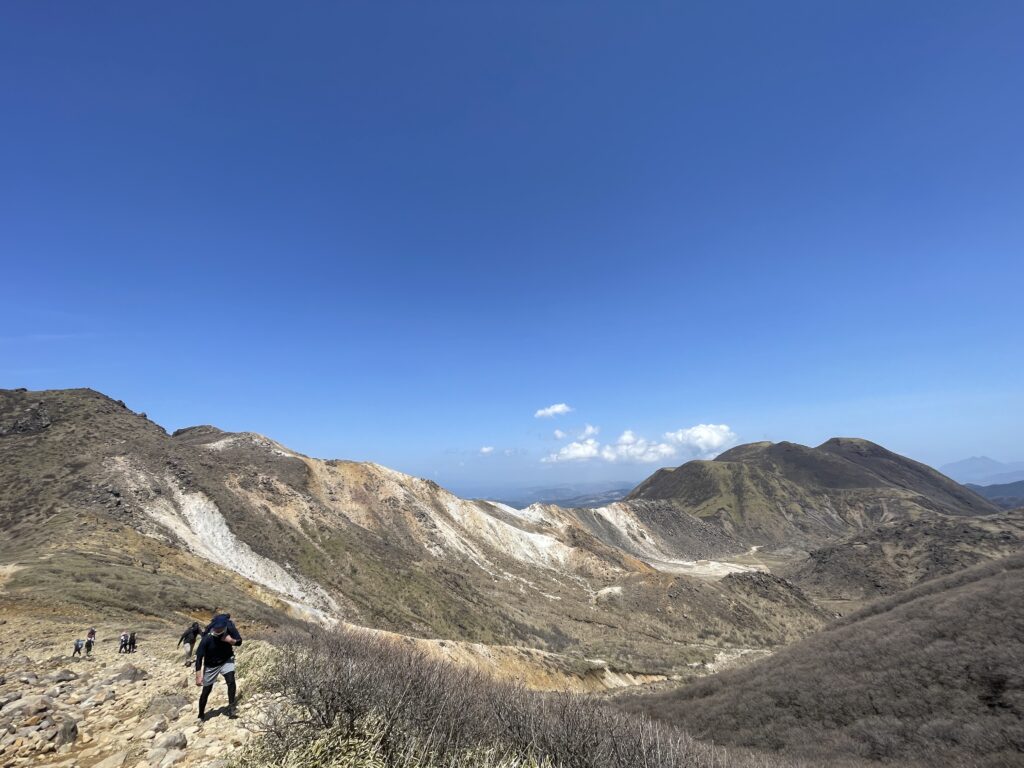
While many hikers head directly to Mt. Kuju or Mt. Nakadake via Nishi-Senrigahama, I highly recommend Mt. Hoshio.
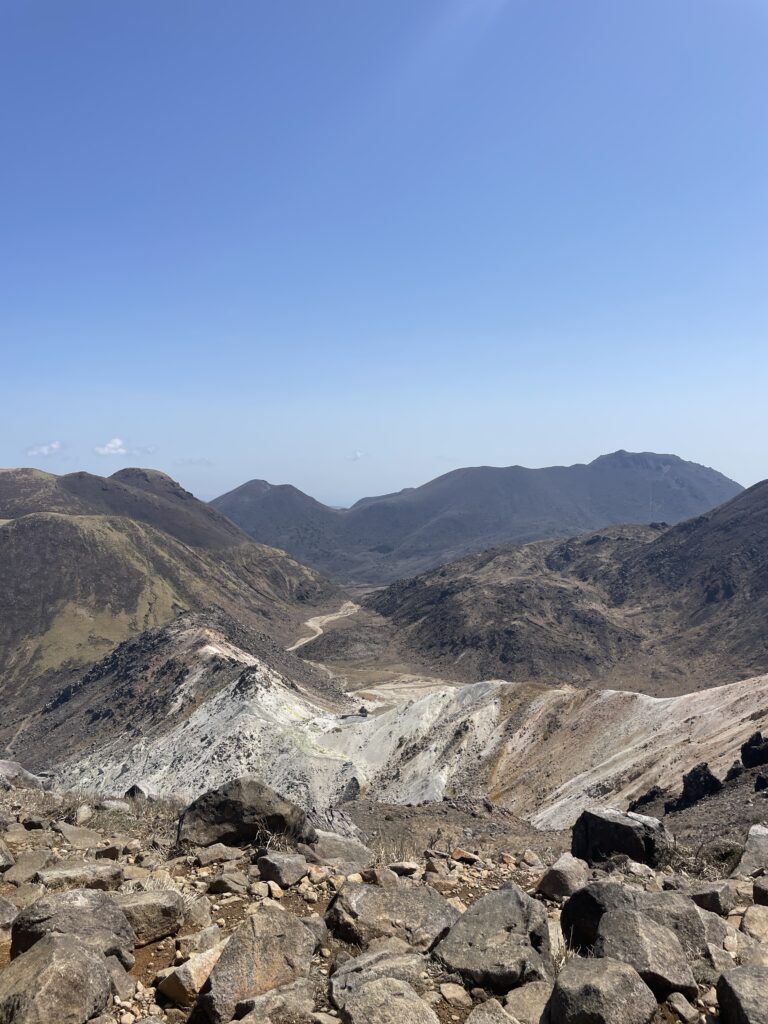
The views toward Mt. Io (Iodake) and Kitasenrigahama were especially stunning, and we could even see smoke rising from Mt. Io.
Honestly Mt.Hoshio was even closed at times due to volcanic activity from Mt.Io, a clear sign of how closely you can experience the volcano here. It’s definitely a peak you should consider climbing!
Descent to Kuju Shelter
From the summit, we descended toward Kuju Shelter.
Near the top, large rocks make the trail slightly technical, so beginners should take extra care here.
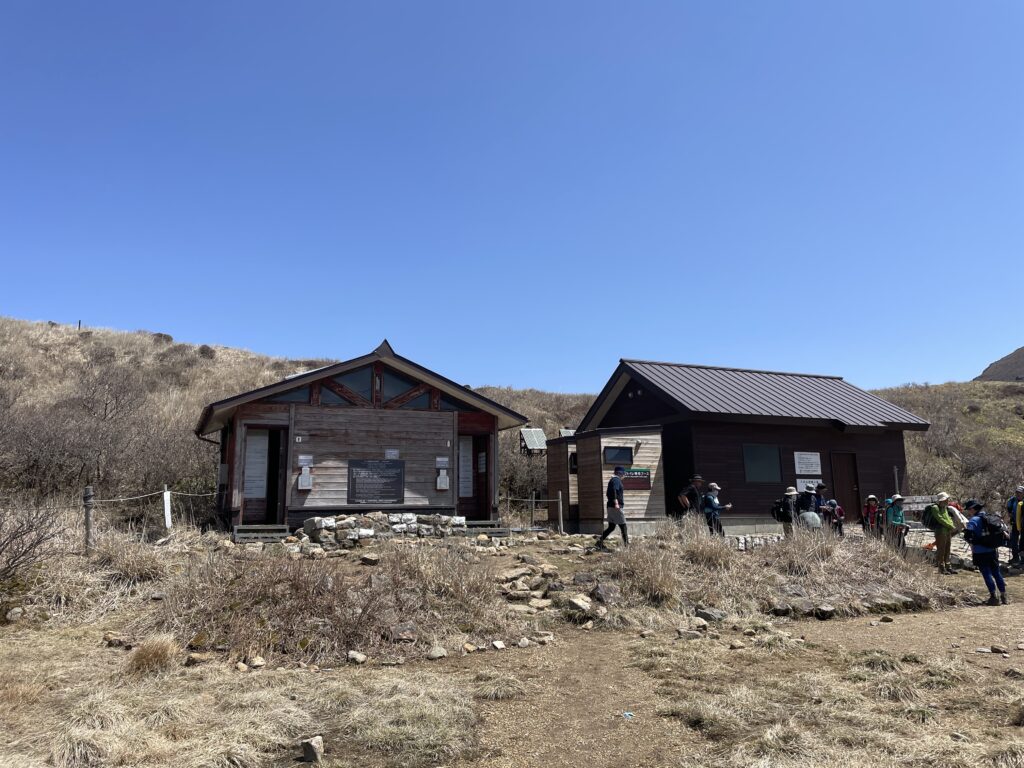
Once we reached the shelter, it felt reassuring.
There are toilets here as well (closed in winter).
Toward Miike Crater Lake
I wanted to see Miike Crater Lake on Mt. Nakadake, so we headed in that direction.
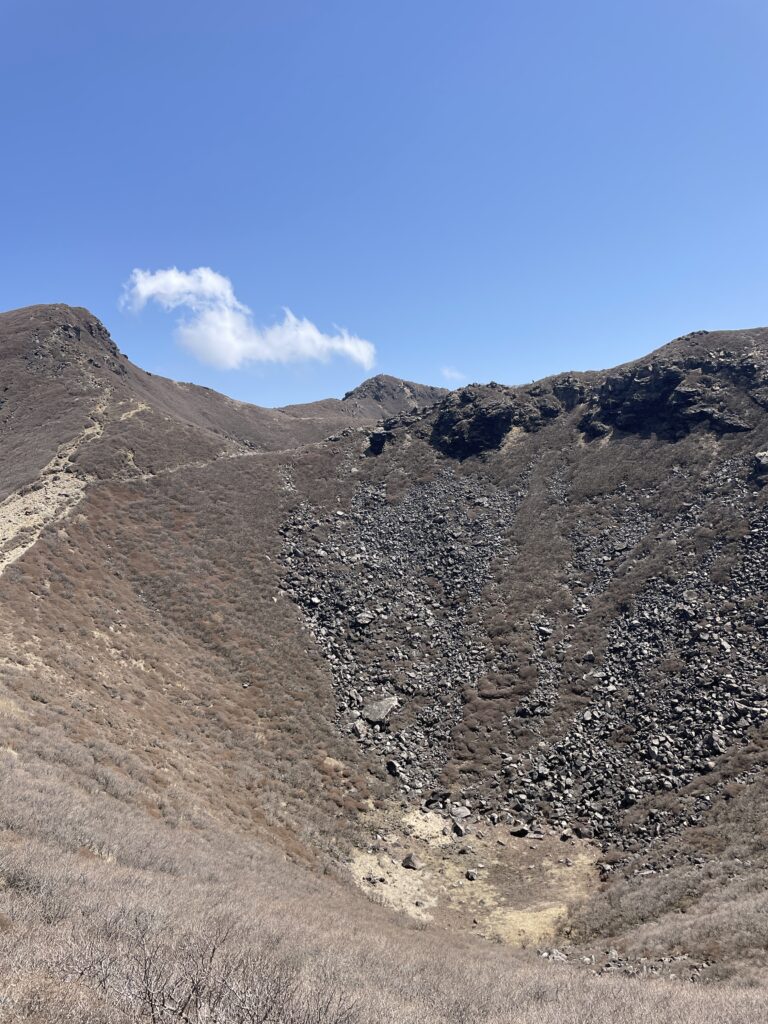
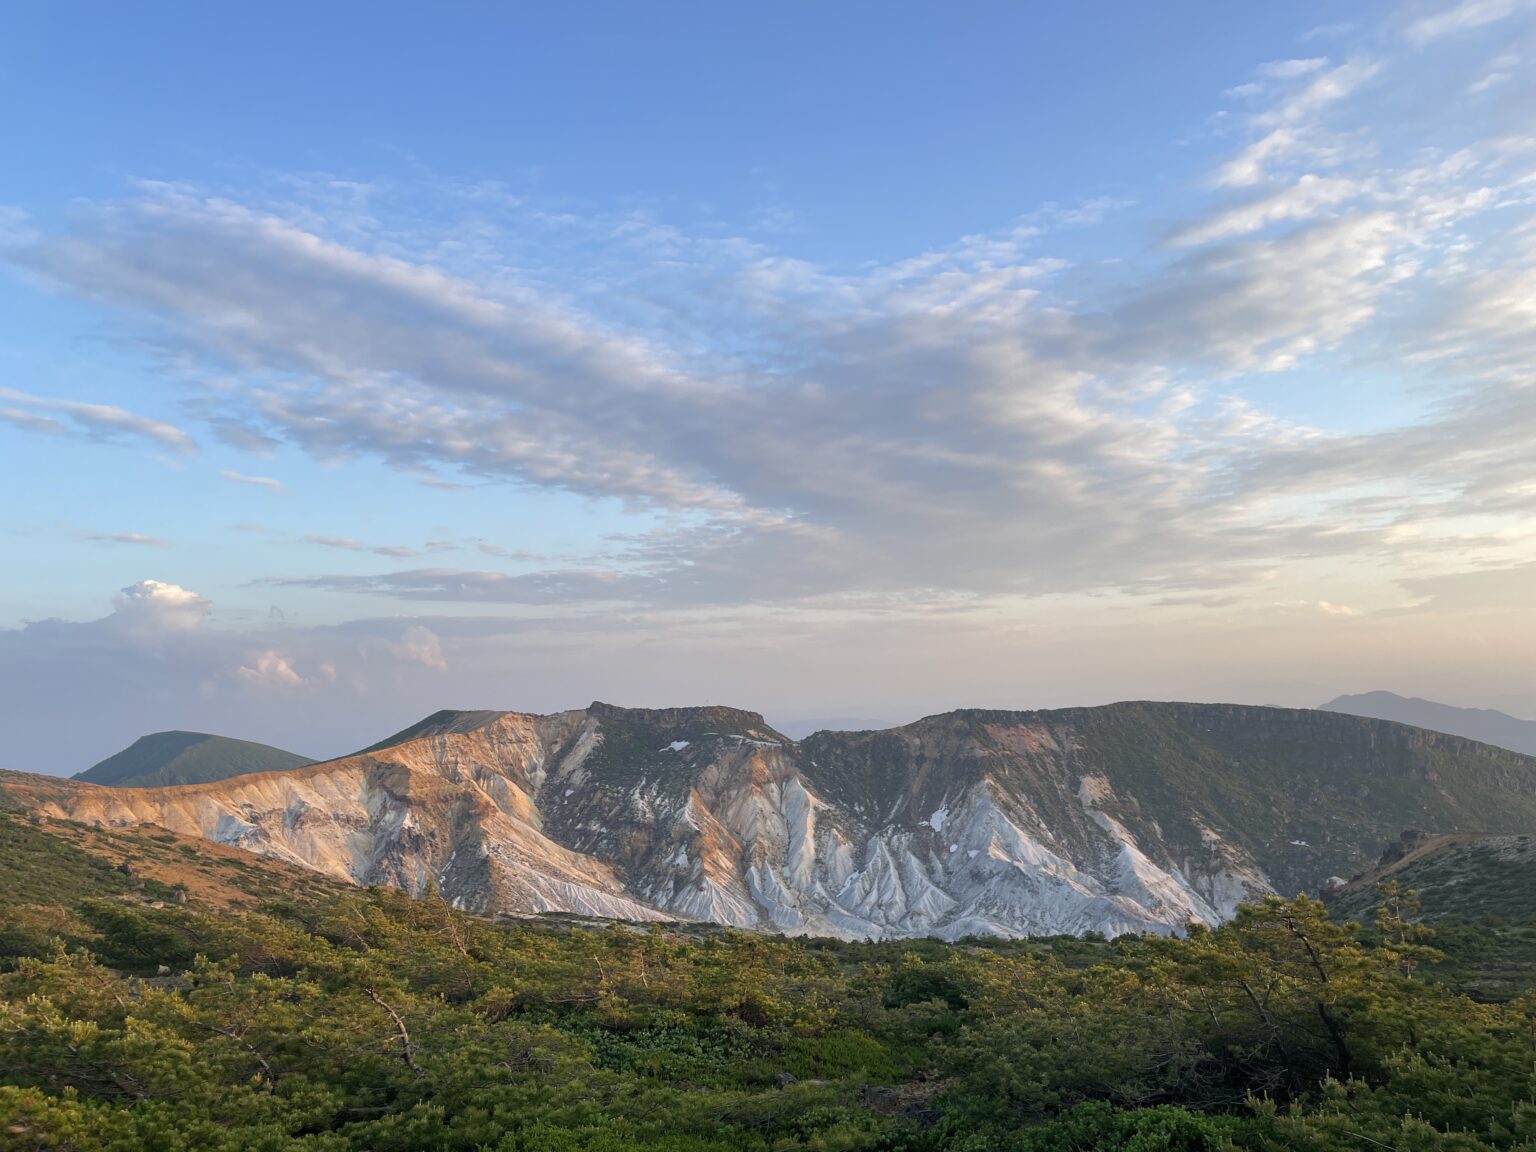
Just before reaching the lake, we passed a volcanic crater.
Seeing it up close, I realized how crater shapes narrow downward, almost like an upside-down cone. The crater itself was smaller than I had imagined.
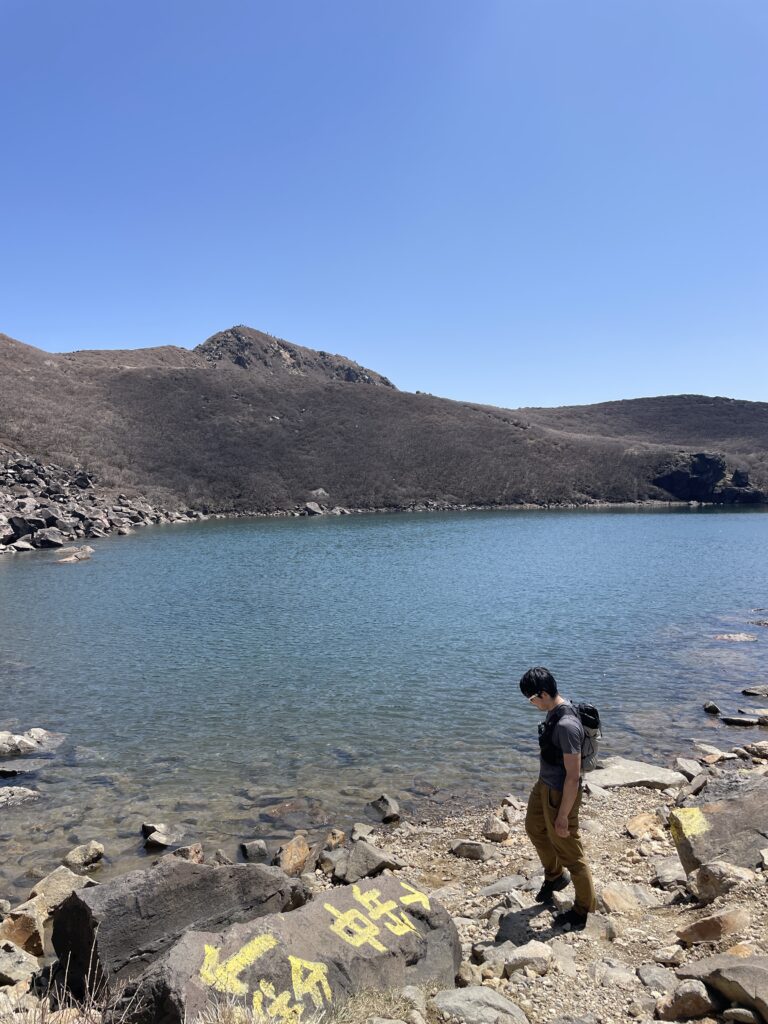
We arrived at Miike Crater Lake. I had been worried it might be underwhelming, but it was absolutely beautiful — reminiscent of the Swiss Alps.
Many hikers seem to skip this spot, but it’s truly worth visiting. Personally, I recommend viewing the lake from up close rather than only from the summit.
It was such a pleasant place that we took a break here. It’s perfect for a picnic. I’m so glad I visited this place – I highly recommended it!
Mt. Nakadake Summit
Originally, we planned to turn back after Miike due to our flight schedule. However, the lake was so impressive that we decided to climb Mt. Nakadake to see it from above.
We followed the shoreline of the lake toward the summit and ended up stepping onto the highest peak in Kyushu. I hadn’t been particularly focused on summiting the highest peak, but it was still a happy moment.
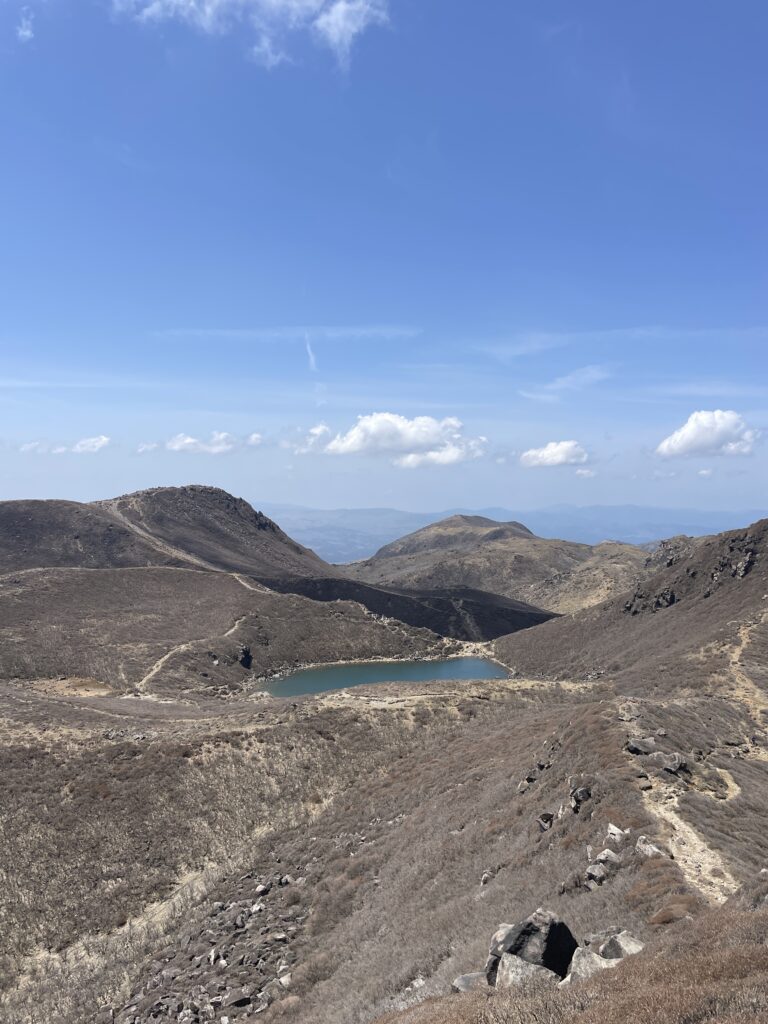
From the summit, we had a perfect view of Miike below.
Toward Mt. Kuju
We debated whether to continue to Mt. Kuju, but decided we had enough time and headed that way via Higashi-Senrigahama.
To be honest, Higashi-Senrigahama itself could be skipped in terms of scenery.
Mt. Kuju was reached surprisingly quickly. Like the other peaks, it offers a 360-degree panoramic view.
As the most popular mountain in the Kuju range, it provides a sweeping view of the entire area.
Return via Nishi-Senrigahama
After a short break, we descended toward the shelter and then continued back via Nishi-Senrigahama.
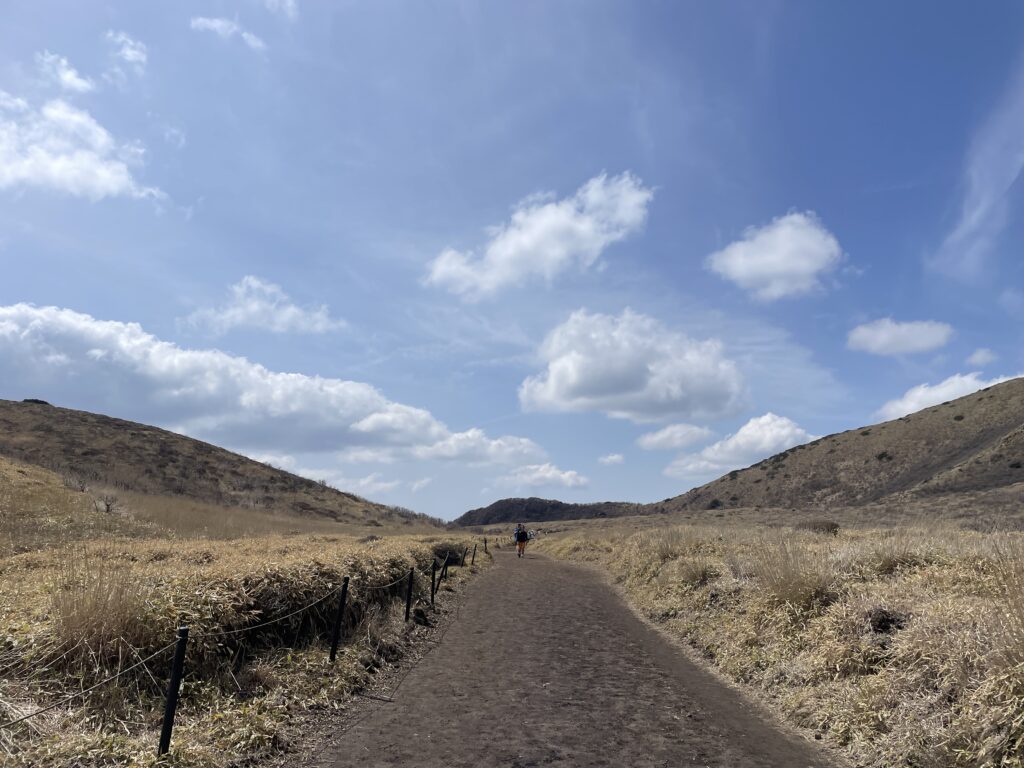
From Mt. Hoshio, Nishi-Senrigahama didn’t look particularly impressive (to be honest), but walking across it was peaceful and pleasant, with a wide, straight path stretching ahead.
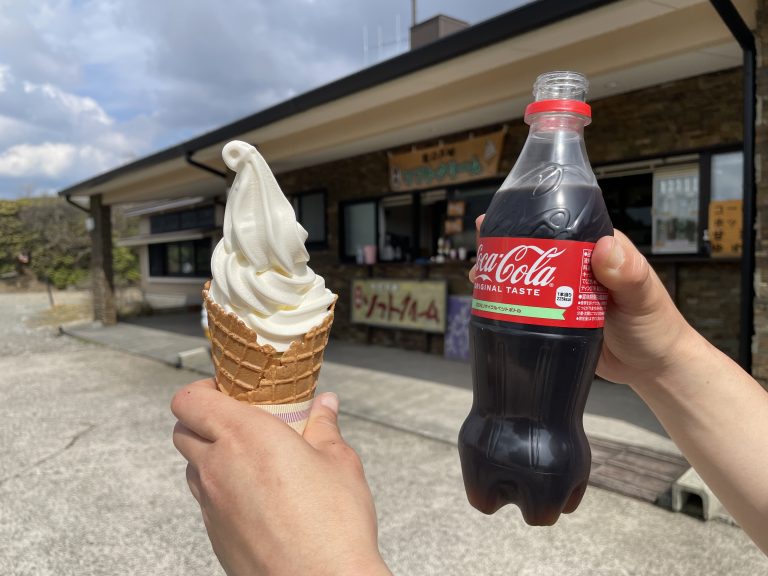
We retraced our steps and returned to Makino-to Pass Trailhead, where the hike ended perfectly with ice cream and cola. After such a hot day, it tasted amazing.
The shop also sold something called a “Mountain Bandit Rice Ball,” which looked tempting.
6.What I Learned on This Trail
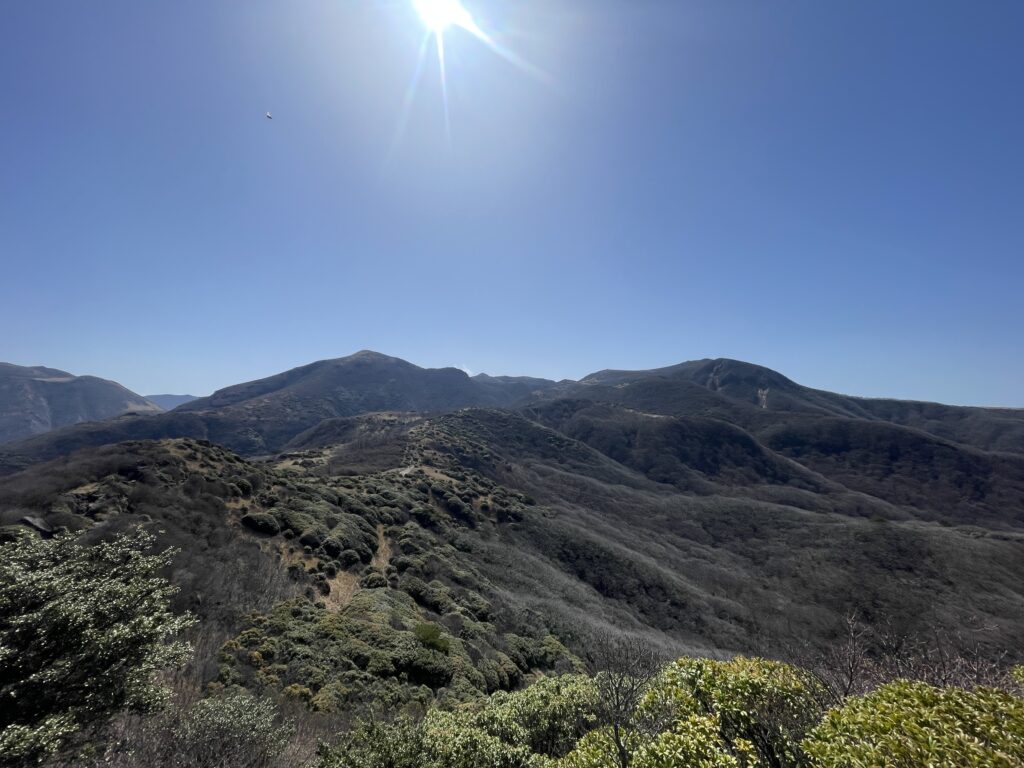
This route covers many of the Kuju Mountains’ most popular peaks and offers 360-degree views from every summit — truly a “best of” course.
Because the mountains are compactly arranged, the route can easily be shortened or extended depending on your time and energy.
From families to university mountaineering clubs, hikers of all kinds were out on the trail, reminding me how welcoming and diverse these mountains are.
With controlled grass burning in spring, lush greenery in summer, autumn foliage, and snowy landscapes in winter, the Kuju Mountains are beautiful in every season.
A wonderful route you’ll want to return to again and again.

lf this hike makes you want to explore more, here are my favorite trails in Aso and Kuju.
And you can also check out recommended trails, climbing spots, and other activity areas across Japan here!